With my recent migration away from Windows to Ubuntu I decided to install VMware player to my machine, unfortunately this isn’t as straight forward as it is under Windows but it’s actually not too difficult if you follow these instructions.
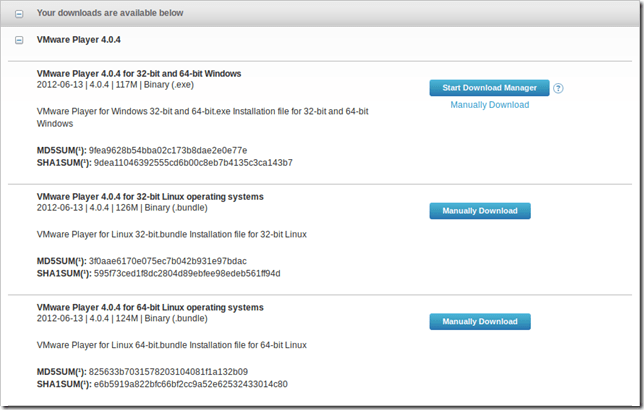
First of all download VMware Player from the VMware site (registration is required but it’s free anyway).
Choose the required version, please note that these are .bundle files but your browser may change the name.
Next you need to download and extract the following patch to your home directory, for more information please see http://weltall.heliohost.org/wordpress/2012/01/26/vmware-workstation-8-0-2-player-4-0-2-fix-for-linux-kernel-3-2-and-3-3/.
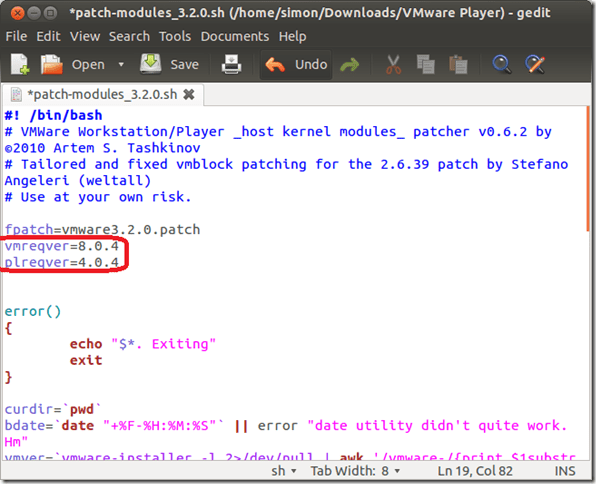
Once extracted you will need to edit the patch-modules_3.2.0.sh file to make the following changes.
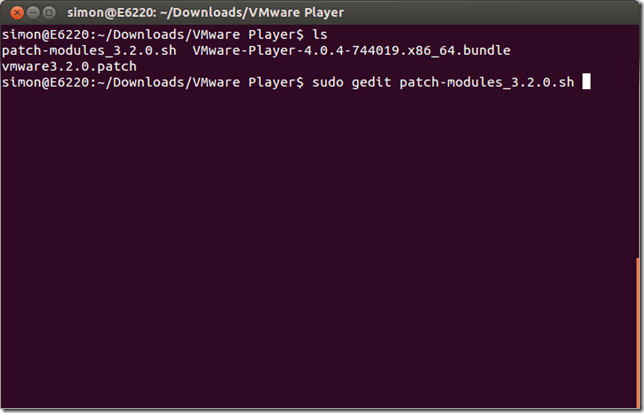
Open up terminal
You can see that I have changed the version check from 4.0.2 to 4.0.4. Now we need to make the script executable
Using terminal type in
chmod +x patch-modules_3.2.0.sh
And now we are going to make the .bundle file executable, type in
chmod +x VMware-Player-4.0.4-744019.x86_64.bundle
The next step is to install VMware Player, type in
sudo ./VMware-Player-4.0.4-744019.x86_64.bundle
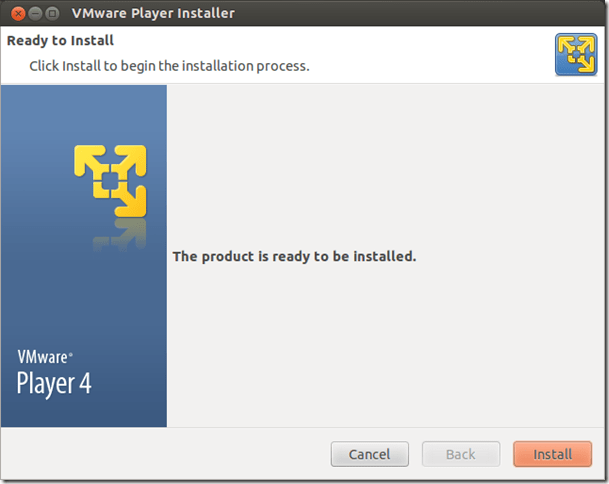
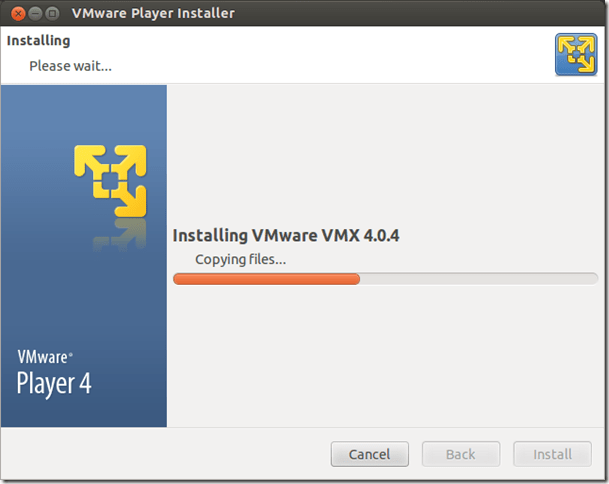
This will launch the installer.
Accept the license terms
Click Next
Click Install
Click Close.
Now before starting VMware Player you need to install the Ubuntu Patch module.
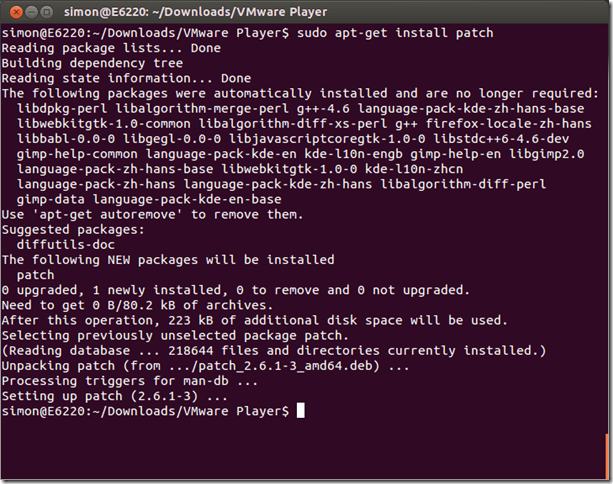
From the terminal type
sudo apt-get install patch
Now you need to install the patch fix, type in
sudo ./patch-modules_3.2.0.sh
If you have run the same patch on version 4.0.2 or 4.0.3 before, you may get this error: “/usr/lib/vmware/modules/source/.patched found. You have already patched your sources. Exiting”. If you do see it just delete the /usr/lib/vmware/modules/source/.patched file and try again.
Once successfully patched you can launch VMware Player.
Accept the licence agreement.
Here you can see VMware Player 4.0.4 successfully installed and running.







Leave a Reply